How to upgrade your existing hard disk in Windows Vista without losing data (Part 2)
Here is the second part of complete PC backup/restore post. In this part I will cover the restore process. The first part is here.
Now, it is time to upgrade your hardware, and put in that new hard disk. After you have done that, put your Windows Vista boot DVD in your DVD drive and start up the PC. Make sure that your PC’s BIOS is set to boot from your DVD drive. Below are 9 screen shots showing each step in the process.
[
This is the first boot screen.
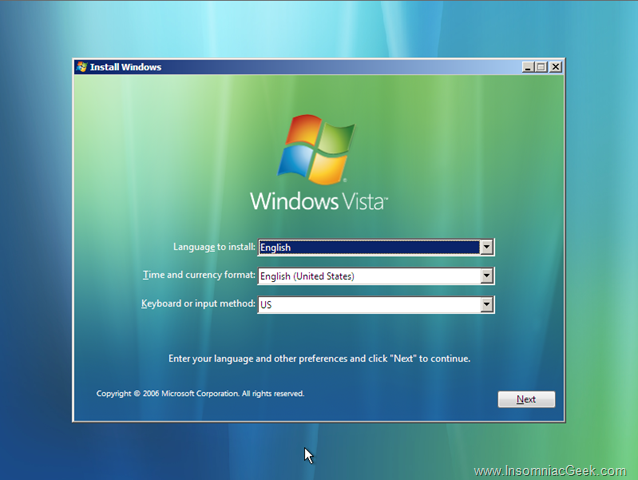
- Select your language
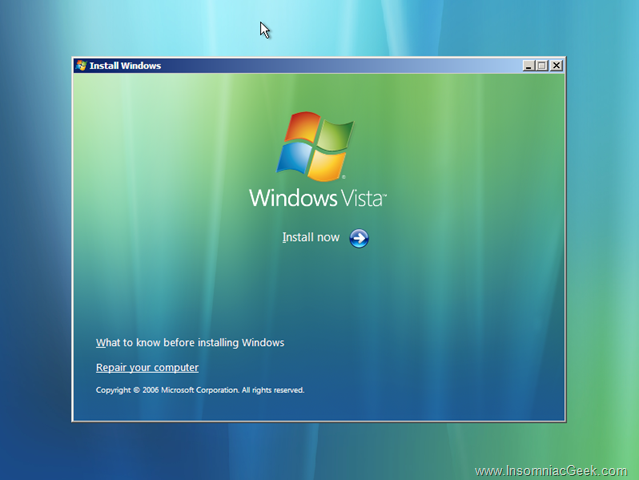
- Select the repair option.
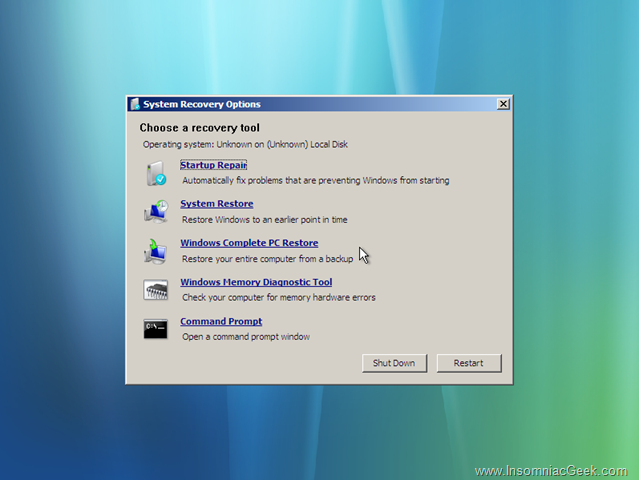
- Click on the Windows Complete PC Restore option.

- Scanning for restore images.
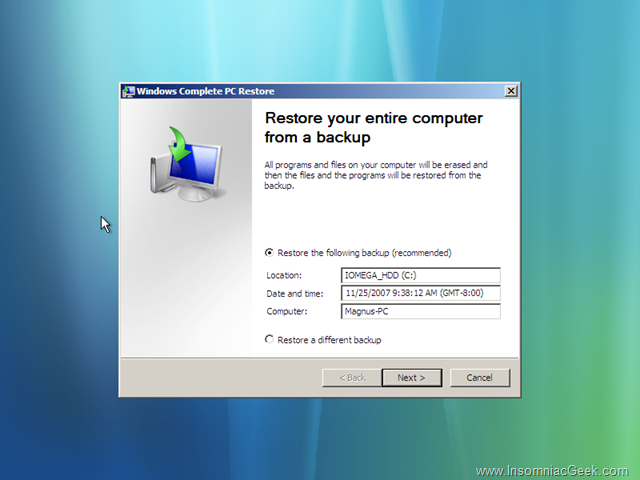
- Restore image found. Click Next.
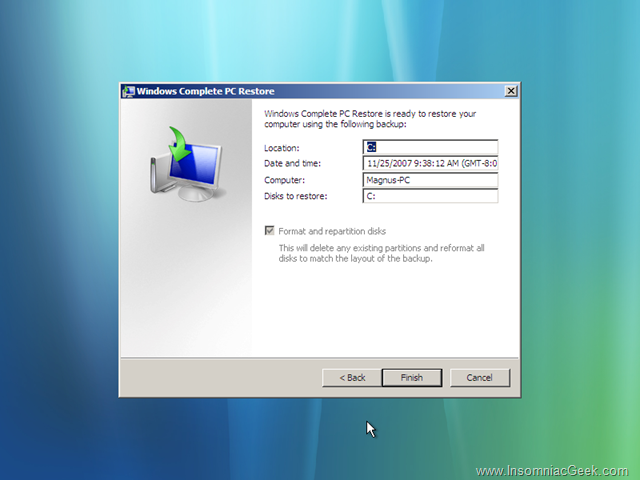
- Click Finish.
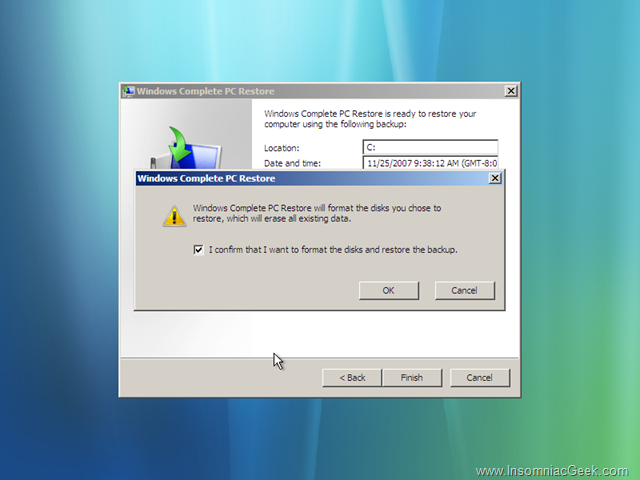
- Put a checkmark to confirm that your C:\ will be formatted.
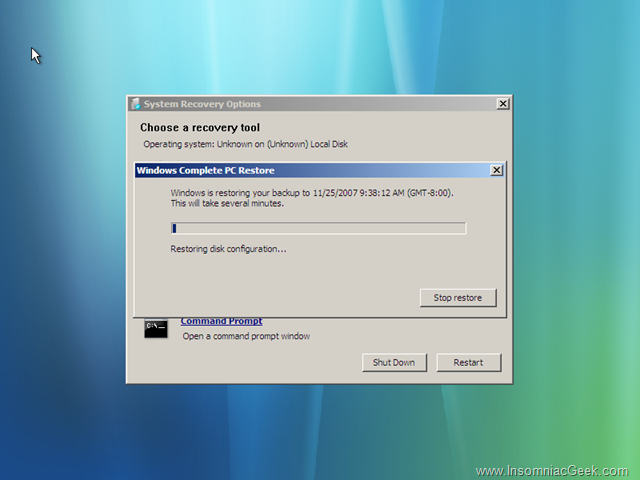
- Restore in progress.
After the restore is finished, your PC will reboot. After that you have a fully restored PC.
A couple of things to keep in mind:
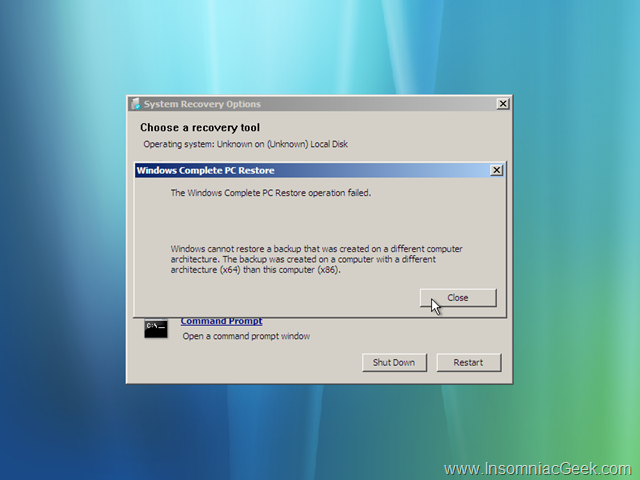
- You can’t restore a 64bit image to a x86 booted system. (Or vice versa.)
If you try, you will get a dialog similar to this:
- Windows Vista may be in a de-activated state after restore, so you may have to activate your license again after the restore.
This post is licensed under CC BY 4.0 by the author.