How to upgrade your existing hard disk in Windows Vista without losing data (Part 1)
Well, there you are. You have just realized that your existing local system hard disk is rapidly becoming more and more full. So now you have purchased a brand new 500GB hard disk to be replacing the existing 120GB system disk that you currently have installed as C:. But going through the steps of formatting a fresh new disk and installing all those programs that you need is somewhat intimidating because you now it will set you back at least a couple of hours of expensive time that you could use to developing new cool things. So what do you do? Well, one option would be to purchase one of those image ghosting tools, like Norton Ghost, or other similar products. But if you are running Windows Vista, there are an alternative. Which, in my eyes, are far more attractive. You see, Vista has a built in backup utility that can make a complete PC backup of your system with just a few clicks. By backing up your entire system disk to a .vhd file (image file) you can later import this file in the install process. Here are the steps:
Backup your entire C:\ to an external USB disk. (Or internal hard disk.)
Shutdown your PC, and replace your current C:\ with that brand new disk.
Put in your Windows Vista DVD and boot from it and start a new setup.
Select the .vhd file you created in step 1.
Let me walk through the steps, in this first part I will describe steps 1 and 2. Steps 3 and 4 will be described in the second part.
The backup utility can be found in All Programs->Accessories->System Tools->Backup status and Configuration. Select the Complete PC Backup option in the left pane.
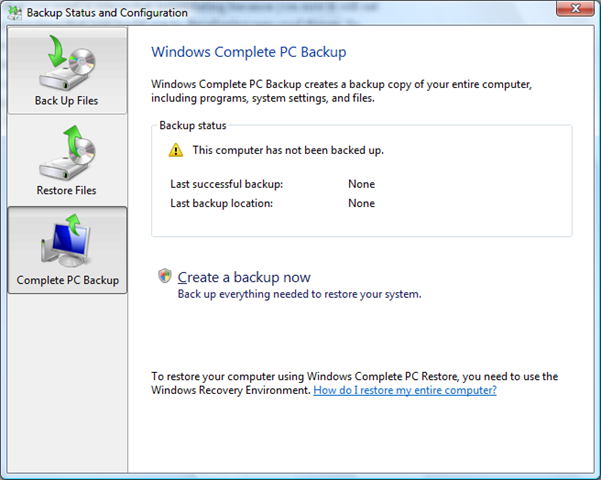
Click on Create a backup now.
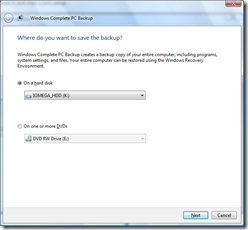
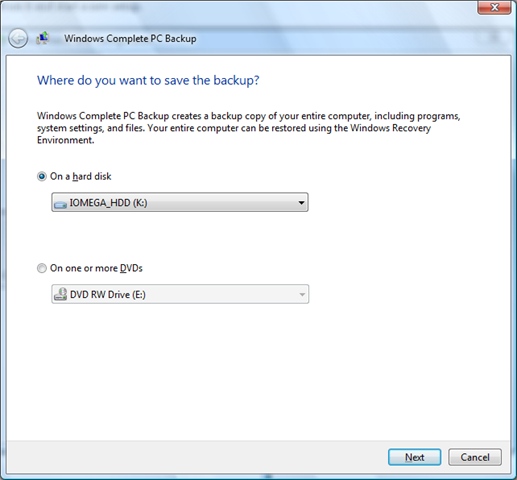
Select the desired location of the backup file end click Next.
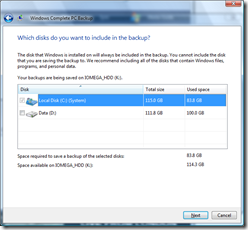
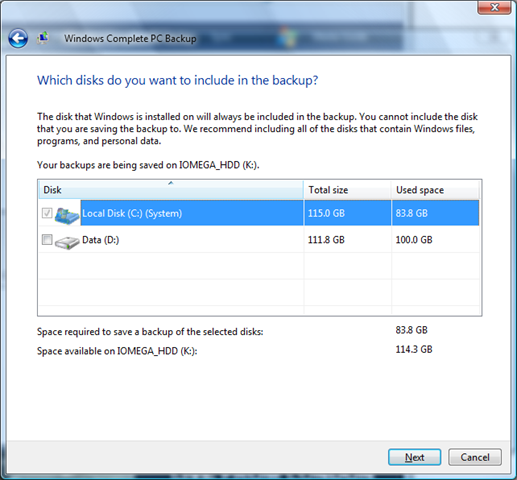
Select the C:\ System disk and click Next.

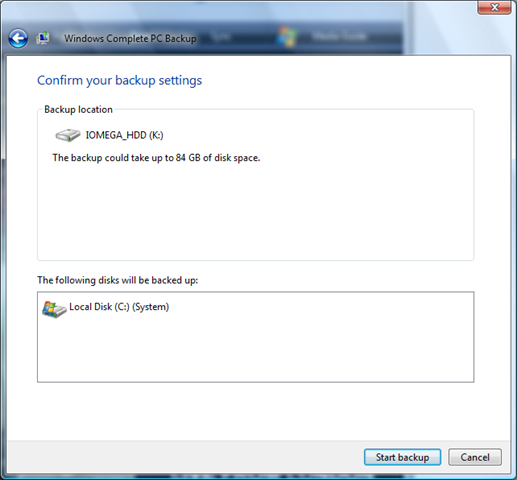
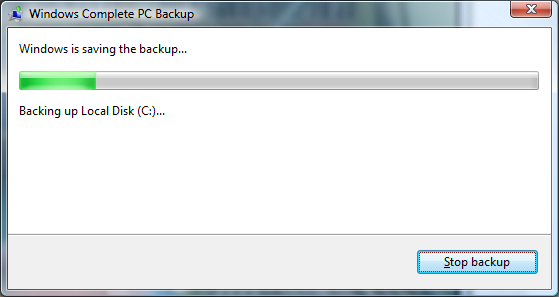
Click on Start backup to start the backup.
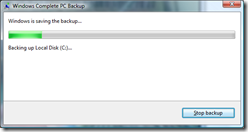
Back in progress.
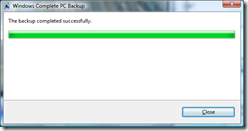
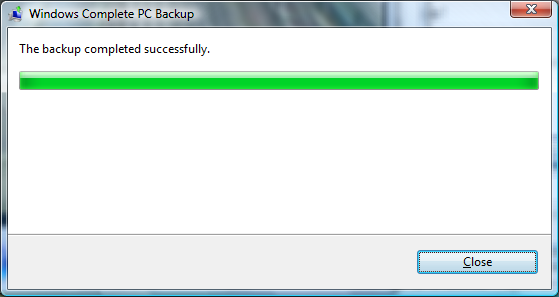
Click Close when the backup has finished.
This completes the full PC backup process. Continue to part 2 to perform the restore process.