Installing SharePoint Server 2010 on a development system. Part 1
Installing SharePoint Server 2010 on a development system. Part 1
In this post I will guide you through the process of setting up a SharePoint Server 2010 development server. The platform I will cover here will be Windows Server 2008 (R2) and not Windows 7. (Which is, in contrast to SharePoint Server 2007, is both doable and supported). Also, I will not cover installing an instance of SQL Server 2008.
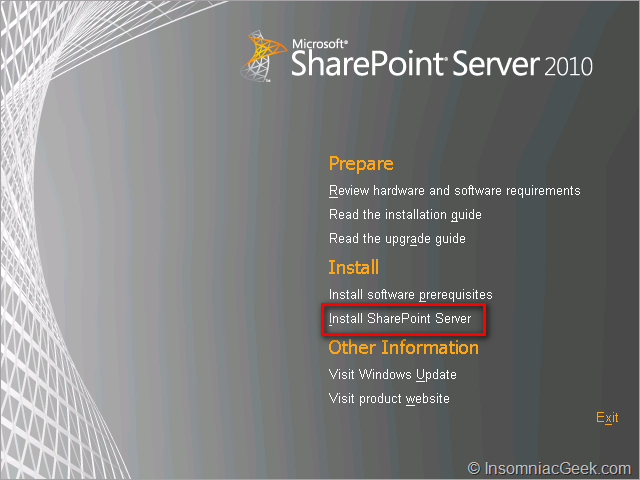
When we first insert the media (either a DVD or if you have mounted a downloaded .iso file), you will be greeted by this splash screen:
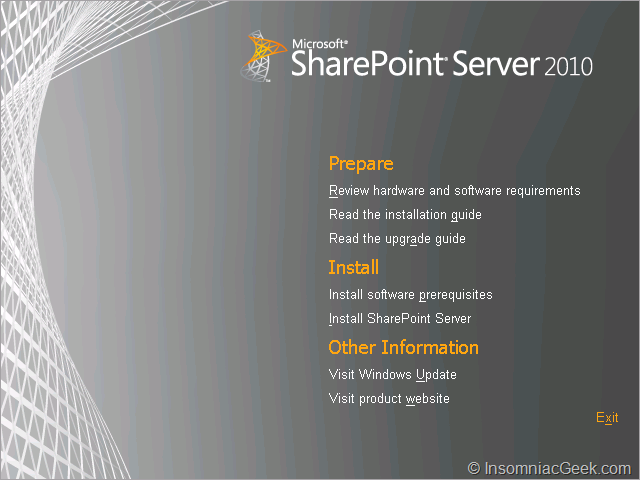
We will start by clicking the Install software prerequisites. This handy utility will install and configure all the features, components and updates before running the actual SharePoint Server installation.
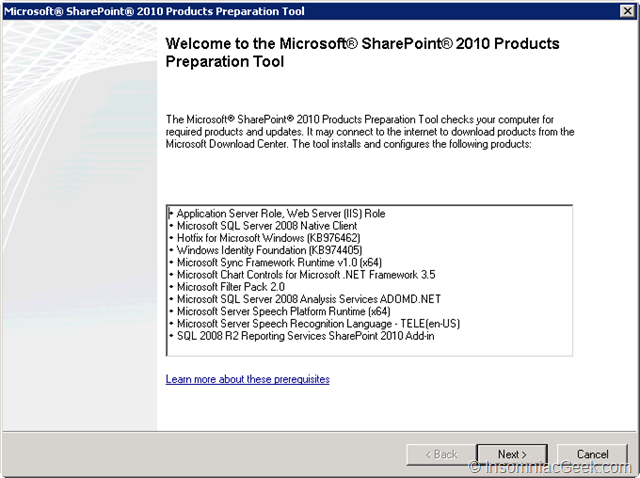
Click Next to continue
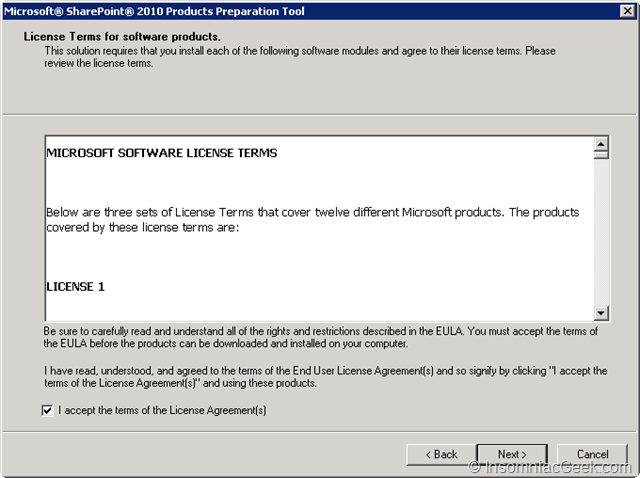
Check to accept and click Next.
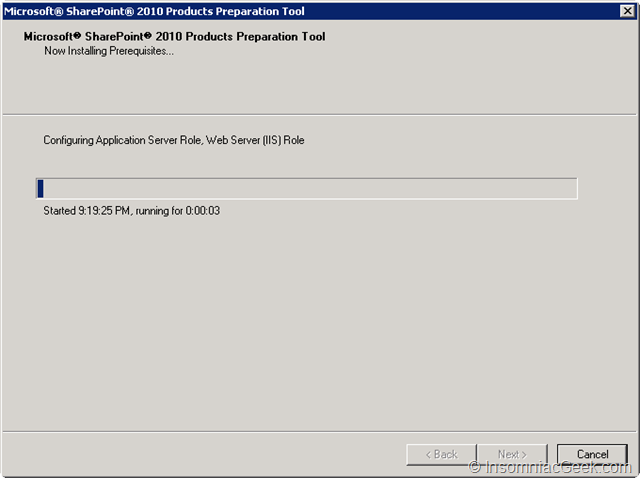
When the preparation tool has finished, you will need to restart your system.
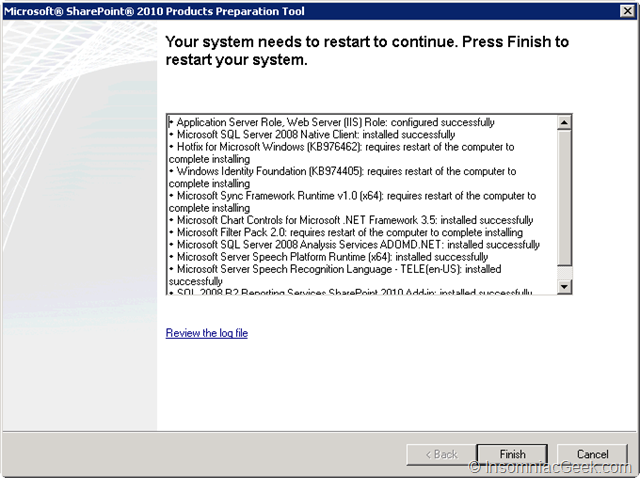
Click Finish to do so.
After the re-boot, the prerequisites are all installed and enabled.
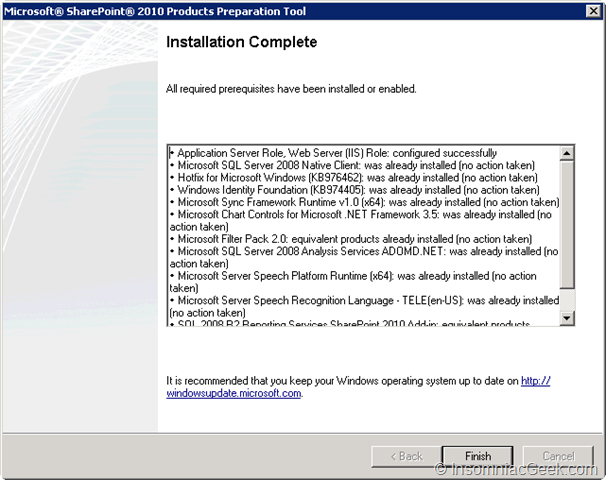
Click Finish to continue. You will then have to re-start the SharePoint setup by starting the Splash.hta executable. This time we are ready to install SharePoint by clicking on “Install SharePoint Server”.
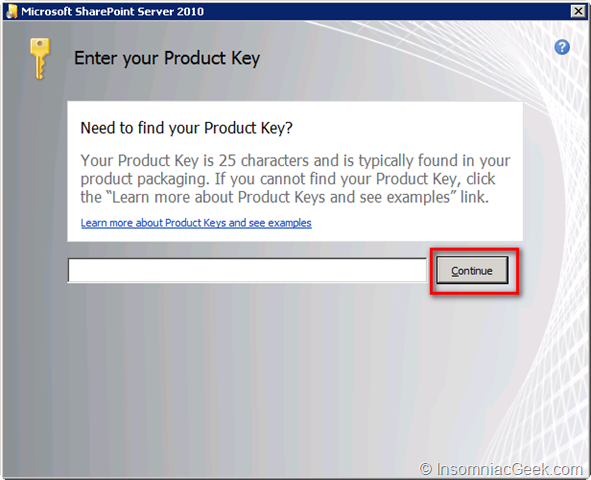
Enter your product key and click Continue.
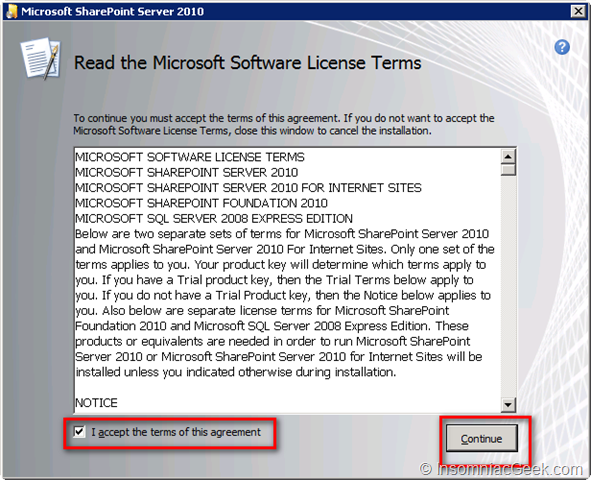
Accept the terms and click Continue.
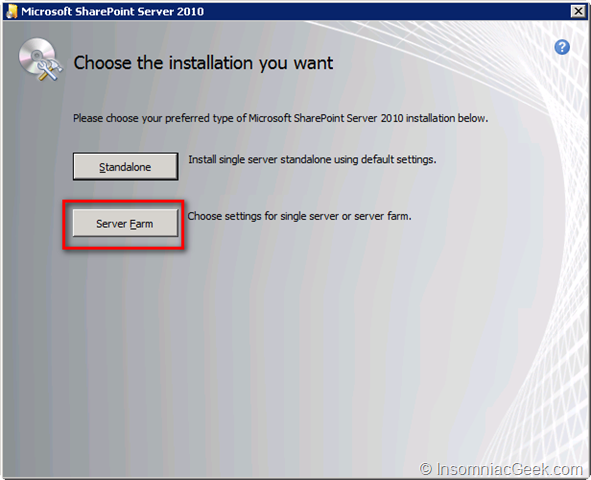
Since we will be running the SQL Server on a separate system, we select the Server Farm option.
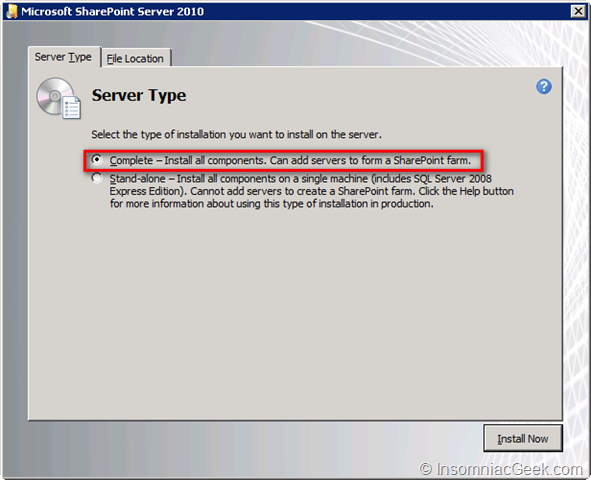
Select the Complete option and click Install Now.
After the installation has completed, you will have the option to run the SharePoint Products Configuration Wizard:
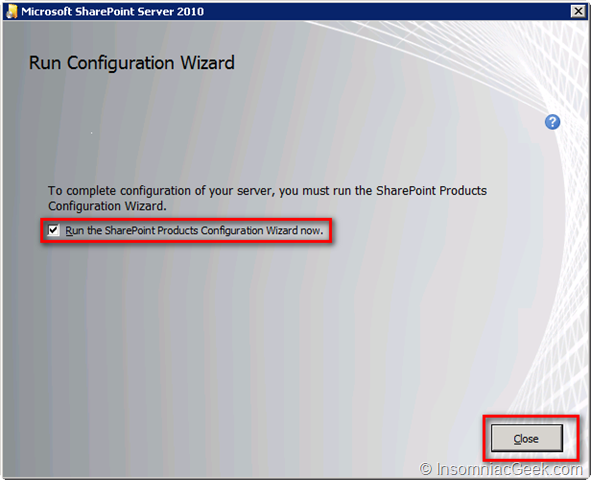
Leave it selected and click Close.