How to install IIs 7.5 on Windows 7
This post will guide you through the steps on how to install IIs 7.5 on Windows 7. You must have administrator privileges to perform this operation.
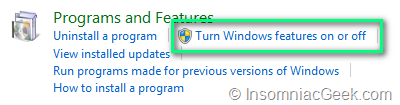
- Go to Control Panel –> Programs and Features –> Turn Windows features on or off.
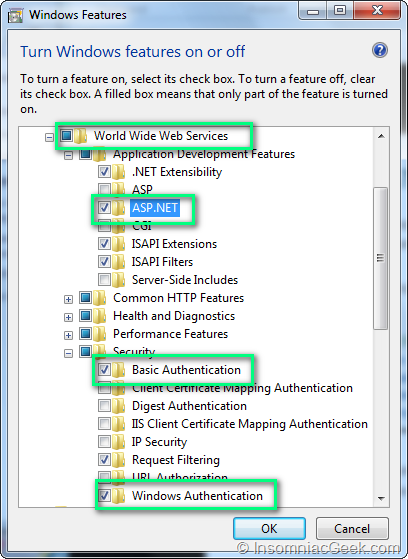
- Put a checkmark in the World Wide Web Services. This will select the most common features for the web server. In my case, I also have selected the ASP.NET, and Basic and Windows Authentication features. Some features may not be available depending on which edition of Windows 7 you have. This article will give an overview on Available Web Server (IIS) Role Services in IIS 7.5 for the various editions.
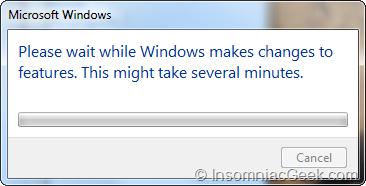
- Click Ok and Windows will install the selected features.
- Verify that the installation succeeded by browsing to http://localhost. This should display the IIs logo.

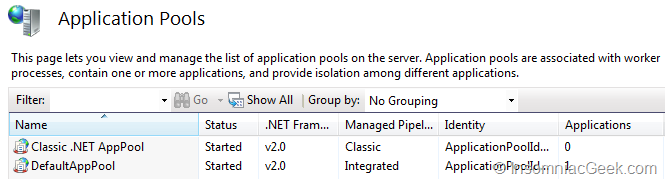
- If you have done this after installation Visual Studio 2010 (and .NET Framework v4) you will only have the default .NET v2 application pools:
so in order to get the .NET Framework v4 integration and application pools, you will have to register the .NET Framework v4 with IIS. Open an elevated command prompt change directory to C:\Windows\Microsoft.NET\Framework\v4.0.30319
and type: aspnet_regiis.exe -i
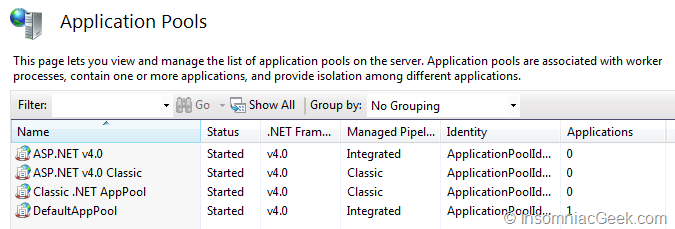
Now, the .NET Framework v4 application pools are available:
This post is licensed under CC BY 4.0 by the author.